
Audio for Workout Videos: Mic Choices in a Hard-Walled Room
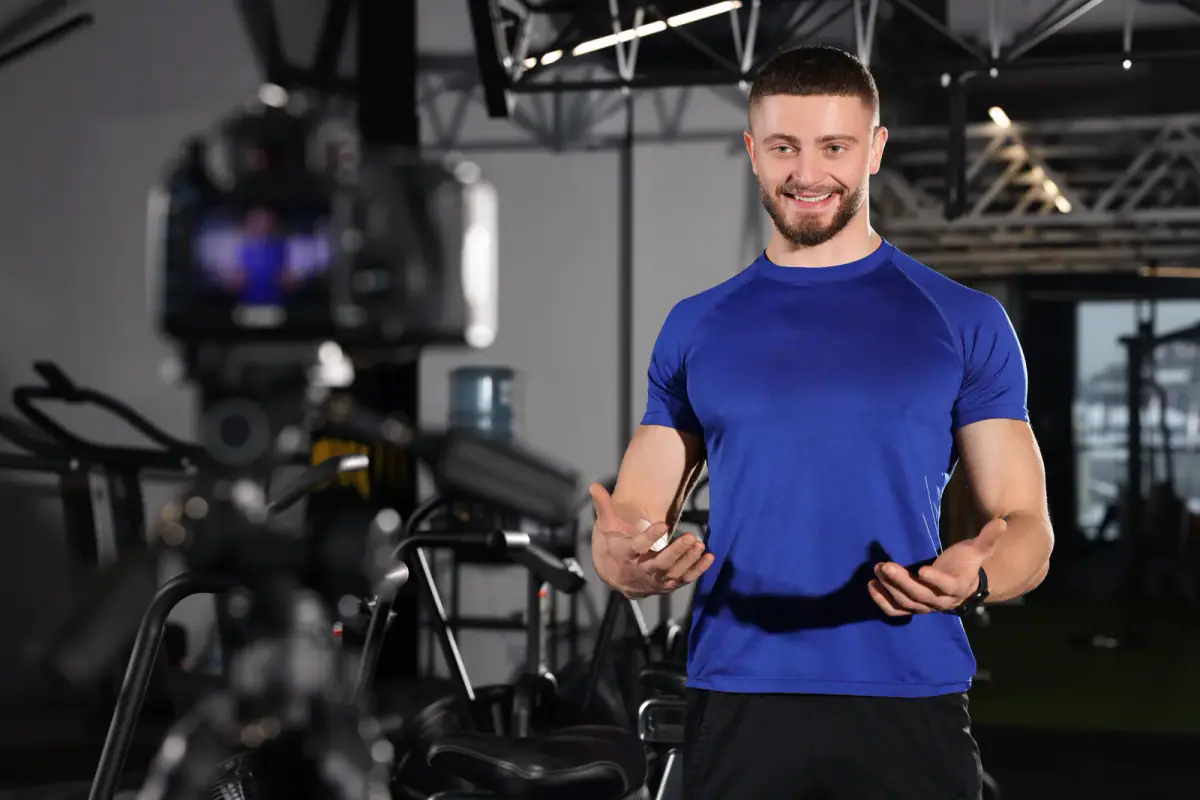
For workout videos filmed in a hard-walled room, a lavalier microphone clipped to your shirt gives the clearest and most consistent voice, a shotgun microphone is the alternative when you cannot wear one, and music belongs in the edit rather than in the room. Echo is the enemy in a closed space with hard surfaces, and the closer the microphone sits to your mouth, the less echo it hears. Here is how to choose, place and test your audio before a filming day in a private space.
Lavalier or shotgun: pick by how you move
Lavalier (lav). A tiny microphone clipped to the collar or chest. Because it is inches from your mouth, it records mostly voice and very little room. It travels with you, so the level stays steady whether you are standing, kneeling or on the floor.
Strengths: consistent level, minimal echo, works when you move around the room.
Trade-offs: the cable or transmitter needs hiding, clothing can rustle against it, and a heavy breath during hard sets can overload it. Clip it away from straps and avoid loose fabric.
Shotgun. A directional microphone, usually on a stand or boom just outside the frame, pointed at your mouth. It keeps your clothes free and gives a natural sound.
Strengths: nothing on your body, easy to set once for a fixed position.
Trade-offs: it hears more of the room, so echo is worse, and your voice changes volume if you turn away or move out of its path. It suits a coach who stays in one spot.
If you film follow-along sessions that include floor work, a lav is the safer choice. If you film short talking-head intros in one position, a shotgun can do well. Many coaches own one of each.
Tame the echo without soundproofing the room
A hard-walled room reflects sound. You cannot rebuild the walls, but you can reduce what the microphone catches:
- Get the mic close. Halving the distance cuts the echo’s relative loudness dramatically.
- Add soft surfaces near the mic position. A blanket draped over a stand just outside the shot, or a folded jacket on a bench, absorbs a surprising amount.
- Face the soft side. If one side of the room has curtains or upholstered furniture, aim your voice toward it rather than toward bare wall.
- Turn off noisy sources. The room’s TV, fans or other equipment can hum. Switch them off while recording.
- Skip the hard floor slap. Dropping weights and heavy footfalls travel through the floor; handle equipment gently on takes meant for speech.
Record a ten-second test of you speaking and moving, then listen with headphones. If you hear a “boxy” or hollow tone, the microphone is too far away or the room is reflecting too much.
Set levels so loud moments do not clip
Watch the meter on your recorder or camera. Speech should peak around the middle of the scale, leaving headroom for a laugh or a hard exhale. If the peaks touch the top, turn the input down; clipped audio cannot be repaired.
Do a level test while doing the loudest part of your session, such as a cue shouted over an intense interval, not just while calmly saying hello. Many coaches set levels at their quiet speaking voice and then distort on the first loud cue.
Record a few seconds of silence at the start of each take. That gives your editor a clean sample of room tone to remove background noise.
Music: add it later and keep it low
Playing music in the room feels natural, but it hurts the final video. The music blends with your voice on the recording, you cannot lower it afterward, and the beat will appear in every clip at slightly different timing, which makes cuts feel rough.
Instead, record your voice with the room quiet, then add music in editing on its own track. Keep it well below your voice, so cues stay easy to hear. A common approach is to sit the music noticeably lower while you speak and let it rise gently during demonstrations with no talking.
Only use music you have the right to publish. A song streaming through the room’s speakers is different from a track licensed for a video you post or sell, so check the terms where you get your music.
A fast pre-roll checklist
| Check | Pass condition |
|---|---|
| Mic position | Close to the mouth, clip or stand firmly in place |
| Background noise | Fans, TV and other hum switched off |
| Level | Peaks at mid-scale during your loudest cue |
| Headphone test | Voice sounds natural, no hollow echo |
| Room tone | Ten seconds of silence recorded |
FlexWerk’s spaces have WiFi, a TV and music streaming, and they are deliberately filming-friendly, with a private room where nobody wanders through the take. Combine this with good lighting and a plan for a reusable exercise demo library, and a few booked hours can produce a set of clips that look and sound professional. Your first hour as a fitness professional is free, so record a short test clip, listen on headphones and a phone speaker, and adjust before the real session.
Related questions
Is a phone microphone good enough?
For casual clips, sometimes. Anything you charge for deserves a separate mic, because a phone on a stand across the room picks up echo and equipment noise along with your voice.
Can I add music in editing instead of playing it in the room?
Yes, and it is usually the better choice. Music played aloud in the room bleeds into your voice track and cannot be turned down later, while music added in editing stays adjustable.
Do I need to worry about music licensing?
For anything you post publicly or sell, use music you have a clear right to use, and check the terms of the source. Streaming a song in the room is not the same as holding the right to publish it in a video.